Using Walk-Through-3D Free Revit Add-In by AMC Bridge
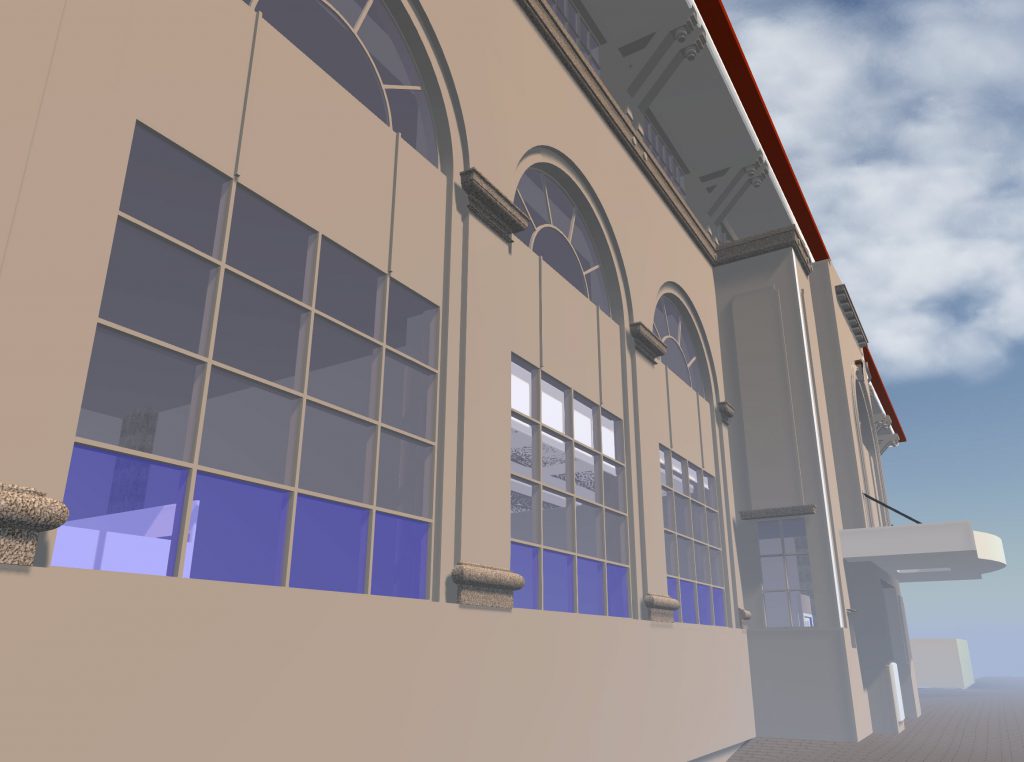
Walk-Through-3D . A nice add in I came across that seems to have developed a lot further than when I played with a similar package in 2015. This walkthrough has a nice appearance and has some extra features such as the map, this helps me navigate around the architecture more easily.
- Speed up the tedious stuff and enjoy designing and documentation more
- Works in all versions of Revit
- Information to PROVE your increased speed
From the description of the add-in.
The main features of the add-in includes:
- Export of 3D model geometry with materials and textures from Revit to Walk-Through-3D.
- Manipulation of the resulting 3D model in a similar fashion to a 3D first-person shooter game.
- Support of textures along with an ability to apply weather effects.
- Generation of a standalone executable package to view the exported Revit model in a three-dimensional representation that requires neither Autodesk Revit nor Unity installations.
- Support of HTC® Vive virtual reality headset and controllers.
- Support for Intel® RealSense™ camera.
- Map.
- Light source settings.
I have not clocked up the mandatory 59,000 hours on First Person Shooter games like most teenagers have, so I’m a bit inept at navigating around the model easily, that said, I find the whole process really great.
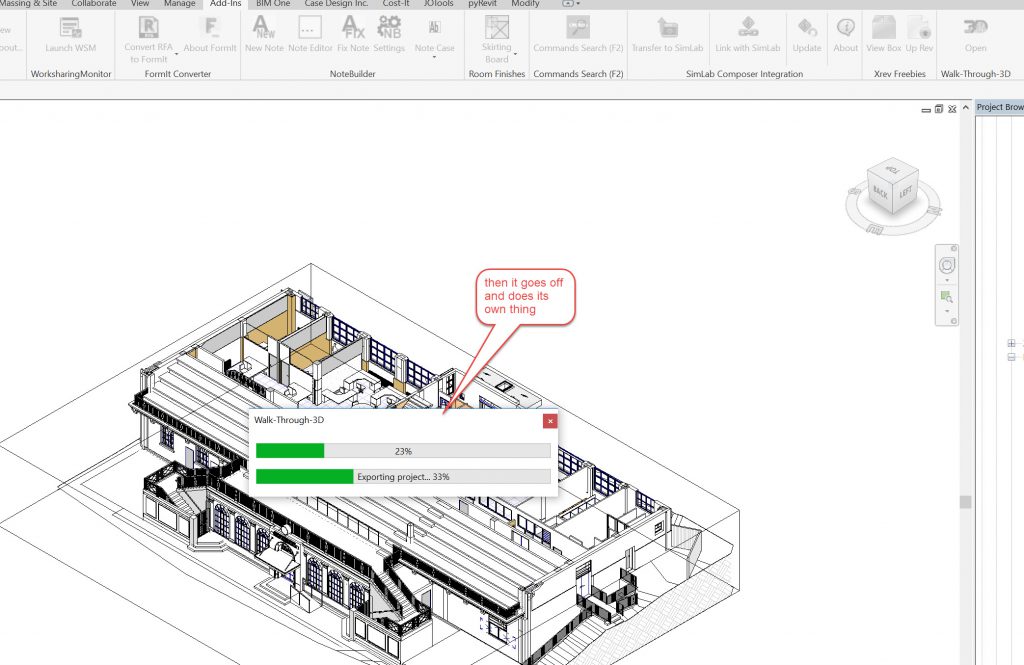
For a decent model, it takes a while to render, that said, it is just pushing one button and then letting it go off and do its own thing. At the end it creates a directory with an executable file and a subdirectory with some odd looking files. You just click on the exe file and it starts up.
As noted in the image below, you can just get a walkthrough for part of your model by adjusting the scope box to the area that you want

It asks for a location

And it wanders off and starts doing things and creates an exe file
When you click on the exe file it pops up with a dialogue box with a couple of tabs. The first where you can select screen res, graphics quality and monitor if you have more than one, also if you want it in a window or full screen.

The next tab is the important one (for an ignoramus on games like me) where it tells you what the controls are, I’m still figuring these out.
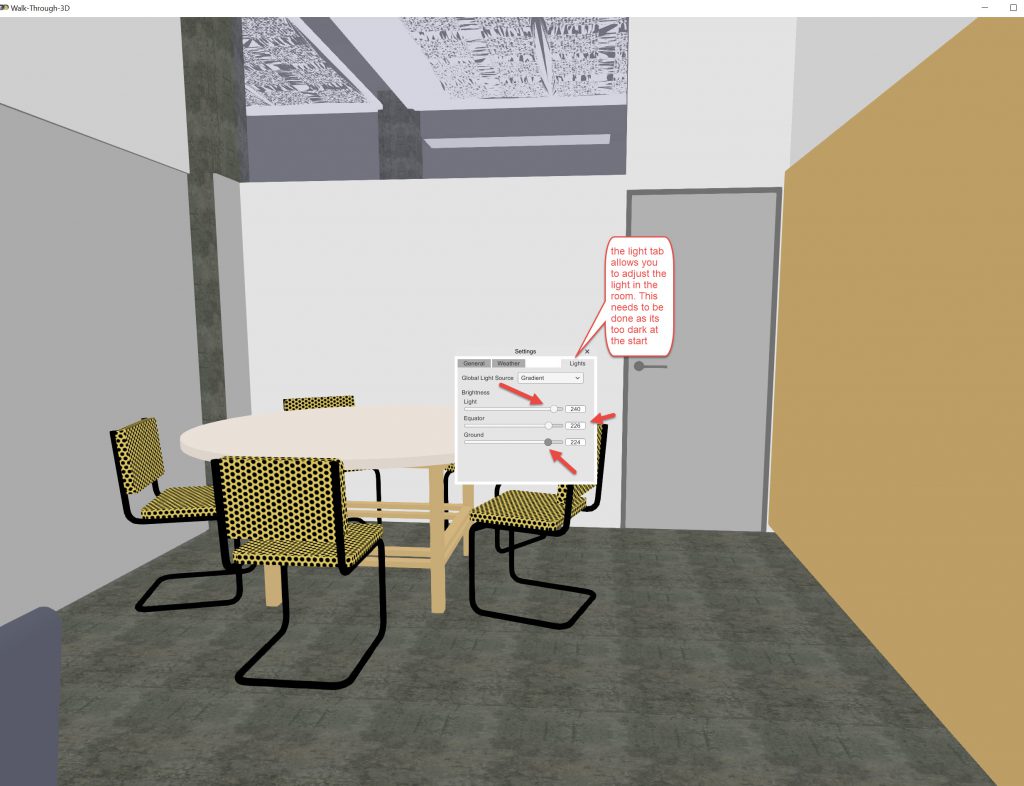
When the programme starts I found that it was quite dark. So you have to go to the options buttons to change the lighting. The menyu tab you see in the screen pops up if you use the TAB key.
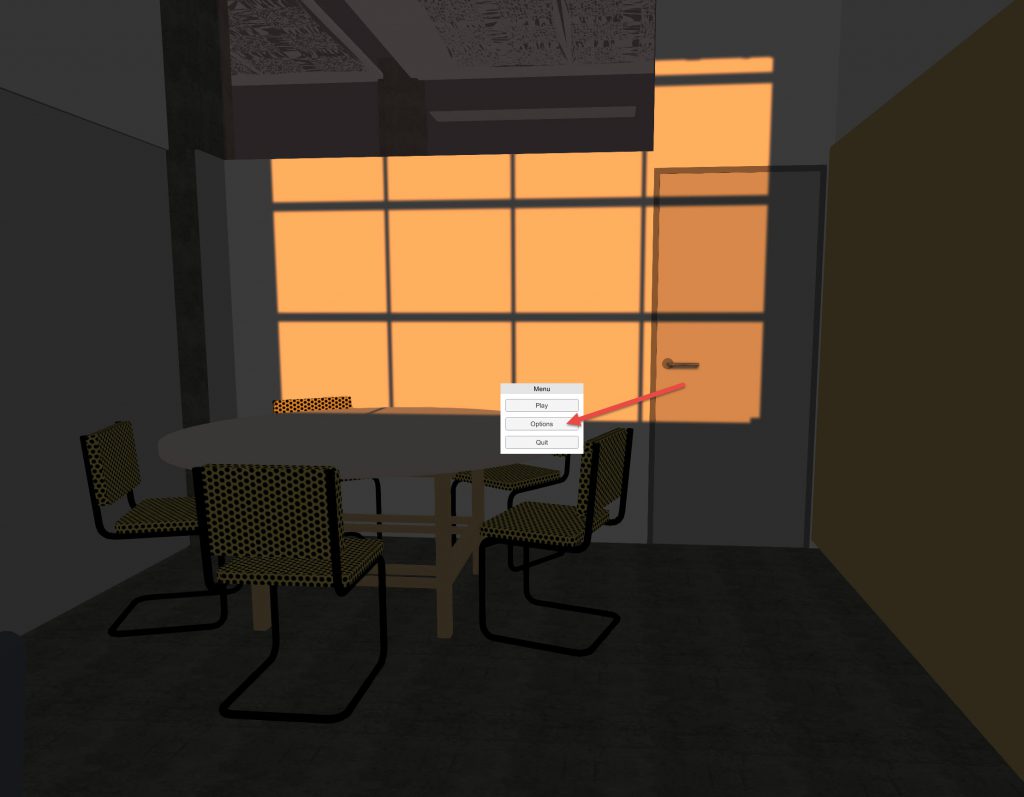
In the first general tab you can orient the sunrise location and also either pause the day/night cycle or choose a speed for it to go. The weather tab can give you rain./snow or fog ans well as clouds, the clouds and the fog are possibly good if you are exploring the outside of the building.

The tab to get to is the lighting one, and that you can adjust to your own preferences.
If you type “m” on the keyboard a map will pop up. You are the little green spot. In the map and in the scene you can use the 4 direction arrows to move around, the mouse moves where you look, so you have to use the mouse and the arrows. 
Resources
The only ones I’ve found so far are on the add-in page. There is a video link there to an example that is interesting to watch:
The explanation is not very in-depth, I can’t figure out what the Data Export tick box does.
Apparently you need to download Unity 2017.1.1 or newer to use data export feature.
End thoughts
I love this app. Its quick and dirty and works with what is in the model. It quickly creates a walkthrough that you can hand on to clients to let them explore the form and geometry of the building. It is predicated on the assumption that the client can figure out the controls, but you could always demo it to a client.
There are a lot of rendering tools such as SimLab Composer, Enscape and even Revit render but I can’t be bothered with faffing about trying to get all the materials right.
I would like to figure out how to get a birds eye view of the building from above. There was a Fly control but it wasn’t doing much when I pressed the button. Still, something to learn tomorrow. I can always build a big ramp further away and walk up that to look down on the building, but that does not sound like an elegant solution.
Definitely 5 stars for the App. Well done AMC Bridge.
I need to get a model and put one available for download. I will do this in another post.
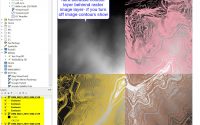
Lidar to Dwg- Getting contours from Lidar map
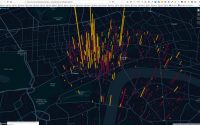
Kepler.gl and London Crimes Geo data & GitHub Gist, Hub, Hooks, github additions