Python 6. How to automate the creation of HTML pages for 360 Panorama’s
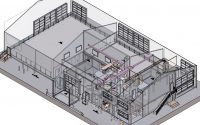
Panoramic files (360/180) can be viewed directly with a programme such as Paint, but they do not make much sense.
You need a specific Panoramic programme to read the files correctly.
I use the FREE photo sphere viewer by Jeremy Heleine. Follow the link to see the demos.
The method that the programme uses is to display the file to a web browser. It creates a html file and calls a mainly javascript programme to run the image viewer inside the web page. Each image needs a distinct html file.
I had previously experimented with using a PDF with hyperlinks to link a floor plan with room photospheres. See my post here. One issue with the PDF with hyperlinks was that you had the pdf open and the hyperlinks, when clicked, opened in the browser in the background. You needed to switch between the 2 programmes to move between the images, which is not very elegant. I wondered about using a more seemless method to transition between images.
There is a sophisticated tool, Matterport, on the market that uses an expensive camera & you upload everything to their cloud and rent their cloud space for others to view.
The simplicity of the method using Jeremy Heleine’s photo sphere viewer method is that you can either self host or even give someone a copy of the files on a USB. Reading the image files from a LAN, local PC or USB is much quicker as files are in the 4Mb range and are slow to download over the internet.
One powerful aspect of the Matterport process was the linking of the images, so you can flow from one to another via links. I had first got enthusiastic about Panoramic photo’s about a year ago, and at that time there were no FREE panorama viewers that would allow hotlinks between images, but Jeremy Heleine’s photo sphere viewer has been updated to allow this to happen. So you are now able to stitch the panoramas to allow for a linked tour through spaces.
The process for a basic set of Panoramas.
See the final result HERE.( Very slow to load as large file sizes).
After taking panoramic photos in all the rooms, you then have to create a HTML file for each image. Most of it is block code and there are only a few points that change within the HTML file, One being the title (that shows up on the tab on the web browser) and the other is the specific file name.
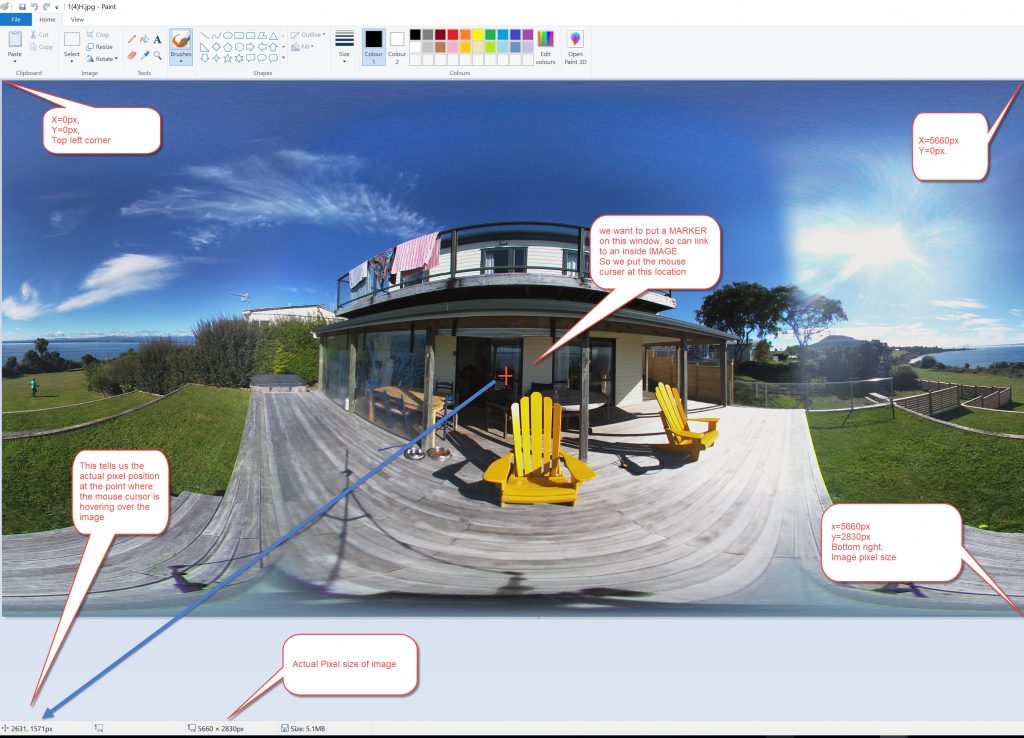
If you have hotspots or wish to put text information at a point in an image, you have to find the actual pixel coordinates and make a specific marker for each particular image. This is more tailored and is specific to each individual image.
So of the 2 parts of the process, the first can be automated, the second is bespoke. But if you can create all of the files programmatically this cuts down time spent on doing the mundane and you can focus on the tailored area of linking the images together.
Here is the basic HTML file that I started with:
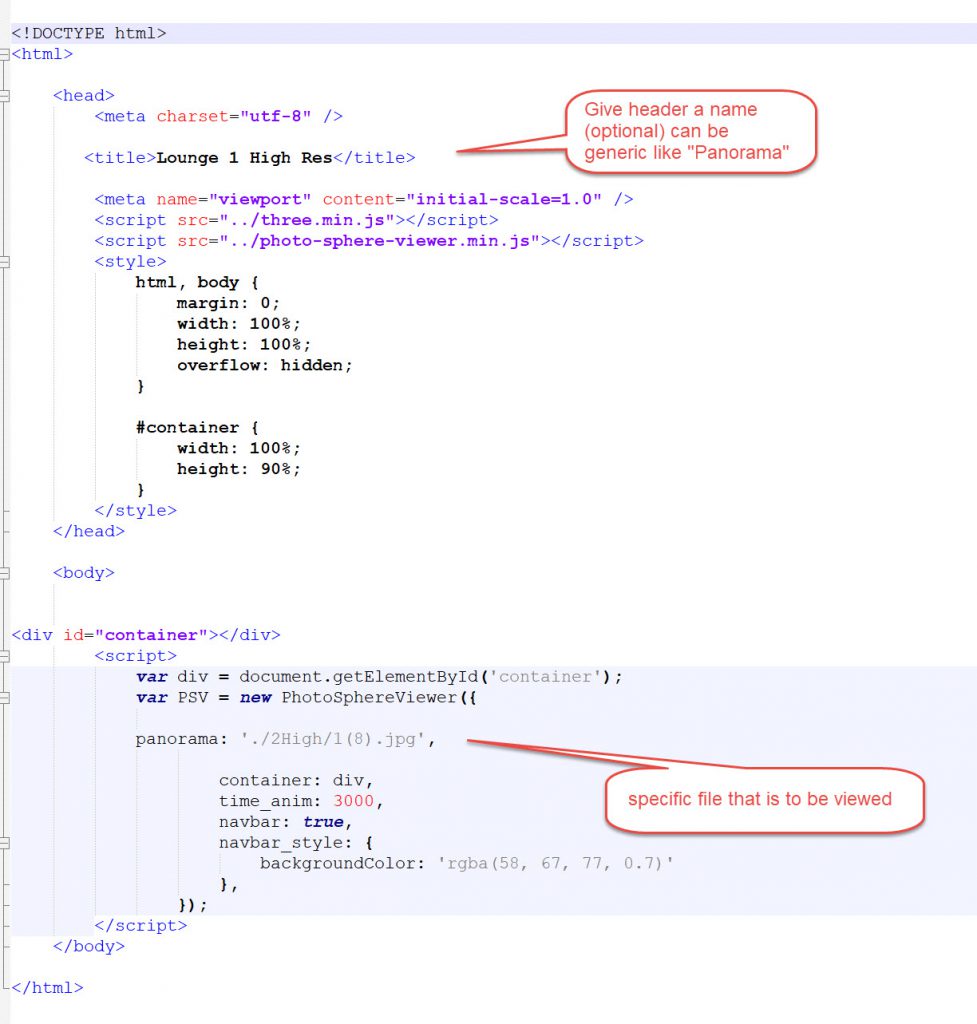
As you can see, there are only 2 points where the script needs to change to accommodate differences between the files, the title and the actual image name.
To simplify further, I gave the tile a generic name of “Panorama” so I only needed to change the actual file name. Also, I used a RELATIVE PATH to the image file. This allows for the directory to be used on a USB, Local PC or LAN or over the web as it is a relation to where the HTML activated file and the image file are in relation to each other. This saves a lot of problems with pathing issues (something that is a big pain on the PDF hyperlinks to the HTML files.
Getting the files.
The photos have this type of naming convention. It does not tell you very much.
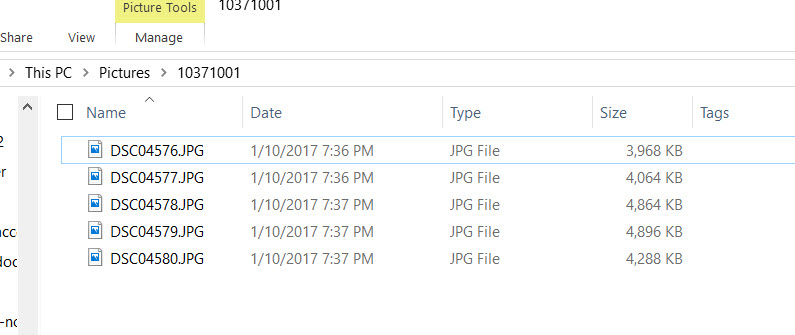
One method is to rename the files using a free programme such as Advanced Renamer to Batch rename the files.
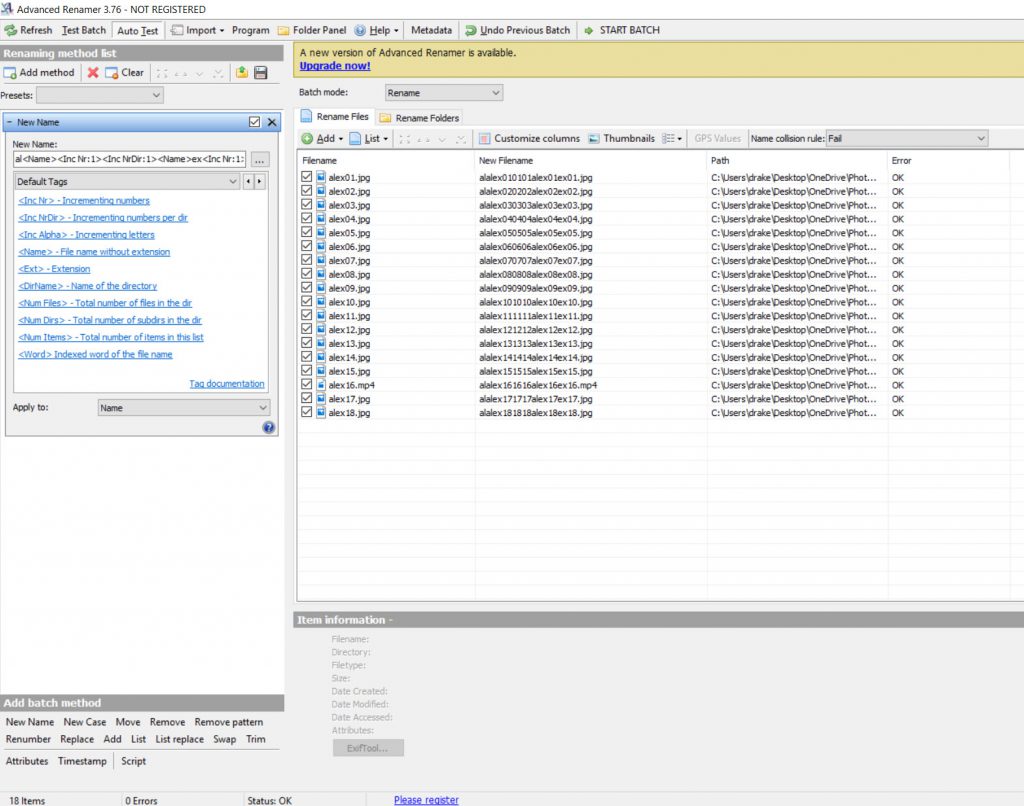
Which is fine if you want an iterative number code for your file names and they do not need to relate to what is in the actual images (this works with PDF hyperlinks as you are using “Click” to open the file, so do not need to read the file name.
Another method is to look at each file and give it a name such as Kitchen.jpg, Hall.jpg etc, so that if someone is opening the files from a list, they can see where the image relates to. At the end of the day, you need a list of files so that you can automate the creation of the files.
A simple method of doing this is with Explorer and Excel.
Open Explorer in the file directory that you want, use Ctrl A to select all the files, then use Shift (Right Mouse Click) and select “Copy as Path”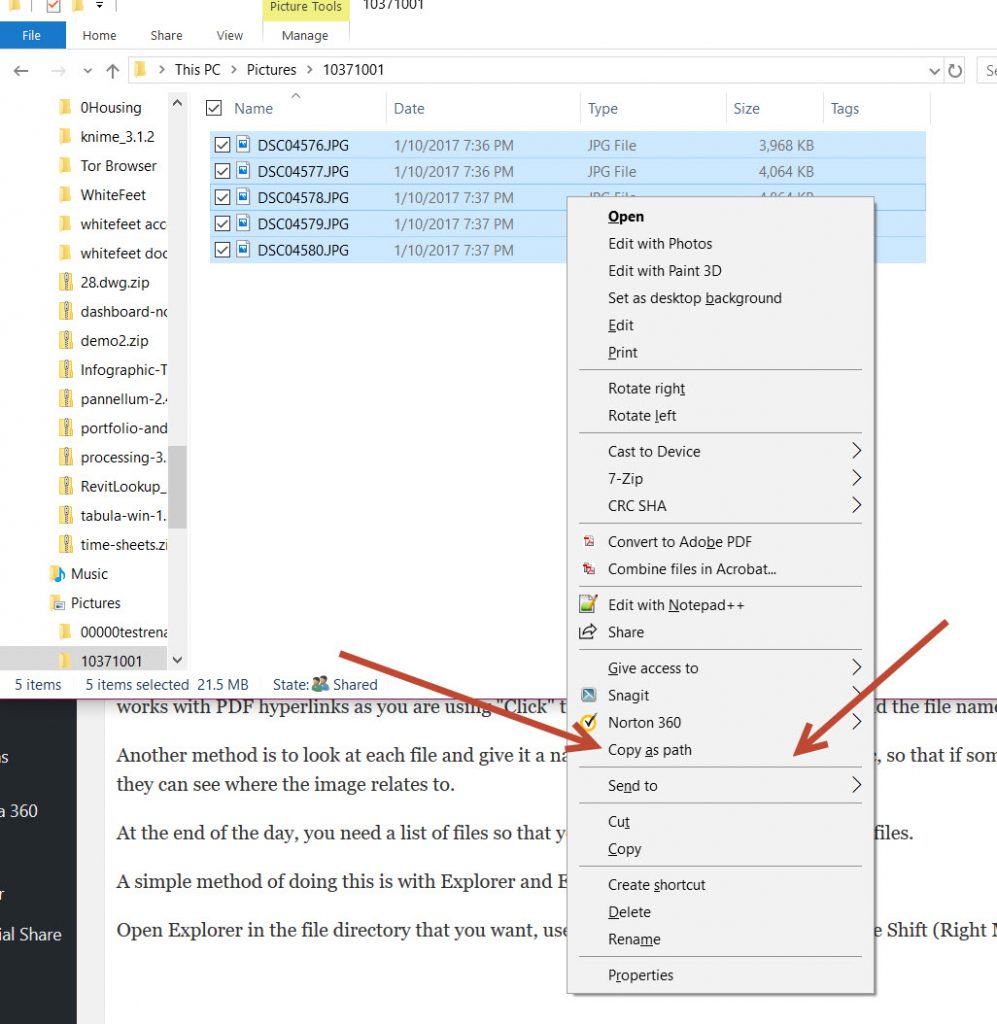
This will select all the files (and their paths ) and copy them to clipboard.
You could paste them to a .TXT file, but I open up Excel & Paste them into excel to save as a CSV file so that you can edit path with FIND/REPLACE.
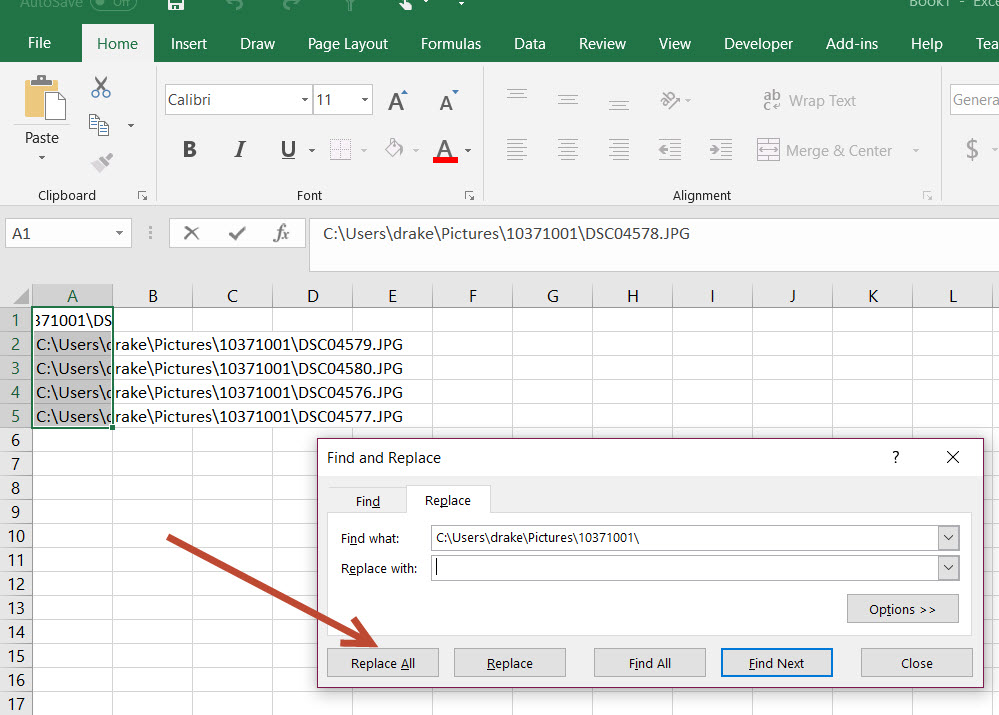
The initial copy as path gives you strings like this:
“C:\Users\drake\Downloads\_Omori 360 NEW hotspots\Data\examples\2High\Stairwell Landing 2.jpg”
“C:\Users\drake\Downloads\_Omori 360 NEW hotspots\Data\examples\2High\Upper Bathroom.jpg”
I would then use Excel find/replace to shorten them to :
“Stairwell Landing 2.jpg”
“Upper Bathroom.jpg”
but then I found my files had names like:
Staiwell Landing 2.jpg.html
Upper Bathroom.jpg.html
so it was better to use find/replace to shorten them to :
“Stairwell Landing 2”
“Upper Bathroom”
so my files had names like:
Staiwell Landing 2.html
Upper Bathroom.html
which was a lot better. I had to add the “.jpg” to the concatenation process for the image file later in the code.
This method also allows you to save as CSV for Python read csv method.
The Simple Python Code
We now have a list of files that we can iterate through. This is the Python code that I used to read a csv file, for each item it then goes through and creates an HTML file with selected code.
s='''
<!DOCTYPE html>
<html>
   <head>
      <meta charset="utf-8" />
       <title>Panorama</title>
      <meta name="viewport" content="initial-scale=1.0" />
      <script src="three.min.js"></script>
      <script src="photo-sphere-viewer.min.js"></script>
      <style>
         html, body {
            margin: 0;
            width: 100%;
            height: 100%;
            overflow: hidden;
         }
         #container {
            width: 100%;
            height: 100%;
         }
      </style>
   </head>
   <body>
<div id="container"></div>
      <script>
         var div = document.getElementById('container');
         var PSV = new PhotoSphereViewer({
'''
p='''
               container: div,
               time_anim: 3000,
               usexmpdata: false,
               navbar: true,
               navbar_style: {
                  backgroundColor: 'rgba(58, 67, 77, 0.7)'
               },
            });
      </script>
   </body>
</html>
'''
with open('lowOrig.csv') as fo:
        for x in fo.read().split("\n"):
                        with open(x+".html",'w')as opf:
                         opf.write(s+"panorama:'"+"./1Low/"+ x +"',"+p)
                         opf.close()
        fo.close()
So I could make 2 code blocks, “s” and “p”. Basically a variable that is a string for the top and bottom parts of the code.
“x” is the image file name and I use it
1/ To make a file by the “x” name with a .html type
2/ I concatenate (s+”panorama:'”+”./1Low/”+ x +”‘,”+p) to write in the relative path & image file name between the 2 blocks of text, namely “s” and “p”.
I then move the html files to the correct sub-directory to run (they are created in the python directory where I am writing the python code) and then they are ready to run.
This is the basic code and it works well. I have been adding bits to it to make it do more and hope to refine it even further.
End thoughts
As I have the basic code working now, I can always elaborate on it and add more variables to make it create more individual HTML files, like using the file name from the CSV file to give the title that name too.
It would be good to see if I could compile the Python code so that others can use it easily. I have attempted to do that in this post but with no success to date.
There are the html <area> tag links that have a bit of complexity to them that may be a ripe area for scripting with python too that could simplify the process further. For another day.
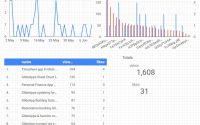
Data Studio Report & Connections

Setting up a WordPress Woo Commerce site with Local by Flywheel Part 1