Strategies for soil moisture sensors and getting data
My daughter has a plant growing business and has lots of plants. She feeds and waters them generally daily but needs to be monitoring their moisture content.
The plants are on a line feed and so drippers in each plant feed water and fertiliser at regular times. Depending on where the plants are along the length of the dripper header line and how hot the greenhouse gets determines whether specific plants need to be relocated or fed extra fluid. Not all the plants will necessarily get the same amount of fluid.
There are automated sensors for each row of plants , but you may want extra soil meters for plants at each end of the rows and possibly some in the middle too, to get a better indication whether all the plants are getting the fluid they need to either not dry out and get stressed or be over-watered and inhibit growth due to water logging.
When discussing this issue with one of the growers they pointed out Soil Moisture meters that could be bought on AliExpress, they were quite expensive.
I thought that I could build one from using a micro-processor and using a soil moisture sensor. I now look back on my basic naivity and ignorance. The process has definitely taught me something about the process, micro-processors and planning.
At this time I only have a crude sensor that logs soil moisture and that requires a USB cable and 5v usb connector to run the sensor and send data over wifi.
A professionals strategic development approach
I stand in awe at the approach this gentleman took, in the video below, on building and choosing the most appropriate soil moisture sensors for his needs.
He had a clear outline of what his goal is, and new the components he’s working with and has done thorough research and developed a clear strategy for sampling and testing to achieve his desired outcome.
My total ad-hoc process
I came to the issue from a totally different point. I had no familiarity with micro-processors and only some basic coding experience. I used the idea as a learning process to get more understanding about building sensors. When I looked at the cost of micro-processors I thought it would be a simple process of doing some simple coding in micro-python onto a Raspberry Pi unit of some description and logging data to a PC somewhere.
Attempt 1
My first attempt was to use Blynk is using the MQTT protocol so this is a PUBLISH result. This was my process Soil Moisture Sensor Automation Project. It sort of got output but a bit rubbish, but I’d fet sensor data and send it to a remote platform to read the information. The Raspberry Pi Pico W was powered by 5v via USB and was programmed in micro-python using Thony to flash infor to the Raspberry Pi Pico W.
Attempt 2
On reflection, I was sending information from sensor to free developers account cloud service. If I had a lot of sensors then I’d most probably need a paid account, and after sending to the cloud would need to access and store historic information from the sensors and also have some way to set alarms for when soil was over watered or too dry, so action could be taken.
I really wanted the information in house and for the data to be sent from the Raspberry Pi Pico W to a local PC, so I could have lots of sensors sending information and for free (no cloud service subscription).
So I rewrote code for device so that it sent data to a local PC. So as sensors needed to be active 24/7 so the PC had to become a server and be on all the time to receive the data. My process is here Sending data over wifi from Raspberry Pi Pico W to local PC.
One thing that came up with the code for this is the Raspberry Pi Pico W ran out of memory after a while and needed to be rebooted. Fro testing purposes I had the sensors sending information at 30 second intervals and with so much processing in such a short time the Raspberry Pi Pico W memory got full very quickly and froze the device.
Also wifi uses a lot of power, so keeping the device awake all the time meant that a lot of power was used. I did try using an AA battery pack (I think 2 batteries) and it chewed though the batteries very quickly.
Apparently you can put the micro-processors into sleep mode and say wake every 30 min, take a reading, then go back to sleep , in a state that uses minimal power.
Learnings from these early attempts
A few things moved the focus:
- In attempt 1 I was sending to a free cloud account data from the sensor , so to a 3rd party. In attempt 2 I needed PC to be on all the time to receive data from sensors.
- The sensor I was using was a cheap resistive sensor so I looked at capacitive sensors instead but saw there was a real variance in quality of these devices
- Power to the device was via 5v USB cable from plg socket- so would limit where I could place sensors in a greenhouse depending on socket outlets and extension chord lengths
- The coding got more complex the more I wanted the process to run locally rather than sending data remotely.
Taking a different Tack with pre-built sensors
At the time I was working on these attempts I’d also ordered some prebuilt sensors to allow for some required sensors in the greenhouse. I purchased ZIGBEE Plant Monitor Outdoor Soil Temperature Meter Moisture Humidity Tester Sensor Garden Automation Irrigation TUYA Detector so that more of the plants could be monitored.
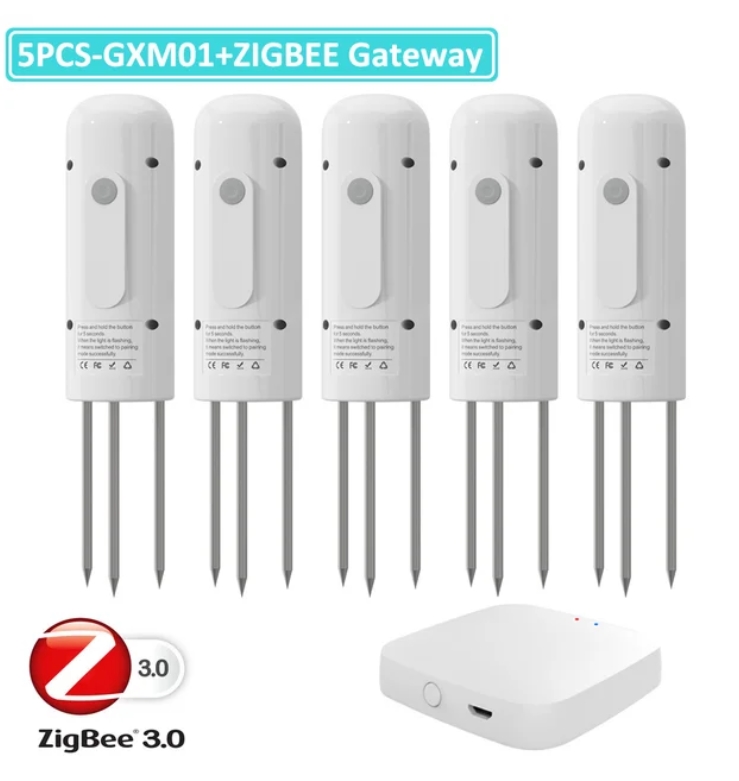
These were setup and use a Tuya app to show:
- information on current & historic conditions from the sensors,
- notifications from sensors if above/below setpoints to App
- information of battery charge level in the app
So were quite sophisticated devices, and they send the information to a Zigbee hub which sends it on to app via wifi.
In the early days I didn’t have that much understanding of Zigbee hubs and I will talk about them in more detail in later articles. Briefly, they act as mesh and Parent for Devices Paired with Them. They work on the 2.4GHz frequency and take information from Battery powered sensors. They work at a lower power than wifi so do not consume as much battery power as wifi does. The hub then sends the information to the wifi network and up to the cloud and then to the mobile app.
The Tuya mobile app for the soil moisture sensors is also pretty sophisticated, allowing you to do a variety of things, it takes data from the sensors and sends it to the cloud and down again to mobile app, so the historic information is kept in the TUYA CLOUD. If you have a developers account you can access this data or you can pay for the historic data or manually record the historic data from a sensor from the display in the app.
So although you are paying a reasonable to high sum for a micro-processor and sensor, you are getting the App and supported cloud information displayed for free, and it will allow you to cluster sensors and devices and set notifications or automation’s, depending on which devices you have, and with other smart devices to get them to be triggered by set-point conditions in the soil moisture sensor , for example, triggering the water valve to information the plants to be irrigated if the soil moisture content falls too much.
As Tuya Cloud store your sensors or devices historic information this gives them the leverage to sell it back to you on a subscription basis.
Pre-built devices so much supirior to DIY devices
What these purchased soil moisture sensors can do is so far advanced to what I was able to do in my initial attempts at trying to DIY these devices that you’d think I’d just give up.
But that is not how learning works. I am very impressed with what they can deliver but there are more things I learned to keep me motivated and in the game.
Smart Devices & Sensor information stored in the cloud. How to access for Free? Home Assistant
The next part of the learning was the fact that a 3rd party had your data that you’d created via your sensors and they could sell it back to you.
This was a bit of an issue as you could combine the data from the sensors to see performance in the greenhouse in respect to weather conditions, daily and seasonal, and do data analytics on that information. But if you have to purchase the information from multiple providers, if you choose to use different manufacturers sensors then there is a lot more work that needs to be done.
I then heard about Home Assistant where you can run it on a PC or Linux or Mac or a Raspberry Pi, for Windows you run it in a docker instance of Linux in a virtual machine.
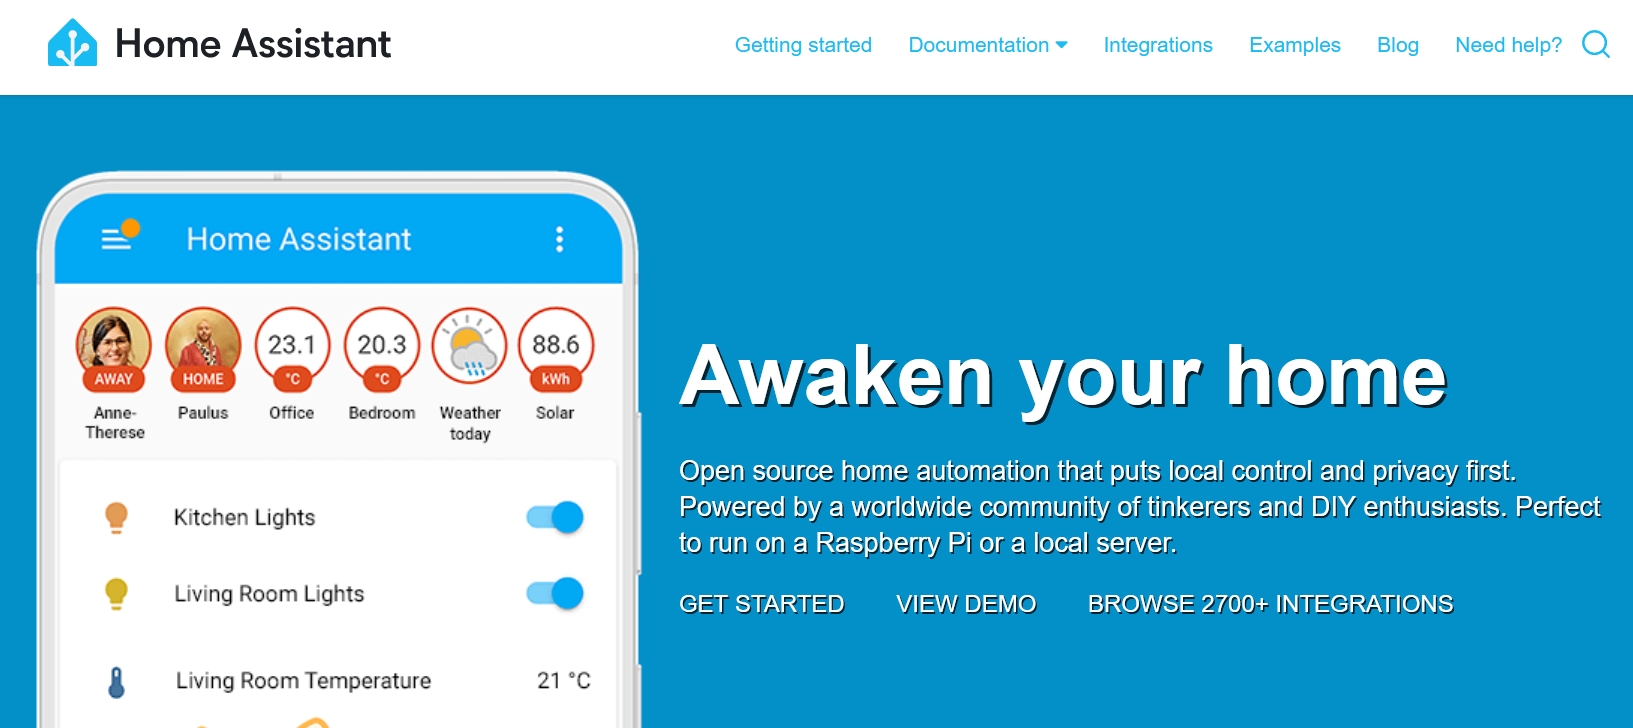
This is a server that you can use add-ins to connect a lot of different manufacturers devices to your personal Home Assistant instance and gather all the information from the devises that you have connected to and are able to store that information in your Home Assistant instance in a MySQLite or MySQL database to use for any data analytic work you want, or to display in dashboards.
Home Assistant will let different manufacturer devices talk or trigger other devices and you can create automations, scenes and scripts inside of Home Assistant.
Home Assistant is open source so there is not a cost for using it apart from your time setting it up and maintaining it. I will be talking about Home Assistant in future articles, but for the present I wish to mention another open source project called ESP Home.

Microcontrollers & moving forward
Arduino and Raspberry Pi are seen as hobbyist microcontrolller ecosystems but for more commercial projects the ESP devices are seen as a more common option.
ESPHome is a system to control your microcontrollers by simple yet powerful configuration files and control them remotely through Home Automation systems.
Nebu Casa developed Home Assistant and have since taken over ESPHome. So they have integrated the two platforms so they work together quite effectively.
My initial attempt to create soil moisture sensors I used Raspberry Pi platform as I’d done a couple of small projects in the past using Raspberry Pi. I then found that there was a wifi enabled cheap Raspberry Pi processor called Raspberry Pi Pico W and decided to initially use this as the basis for my sensors. An interesting thing is you can use ESPHome to configure the Raspberry Pi Pico W so that it can work with Home Assistant.
So whereas my initial attempts were using the Raspberry Pi Pico W’s I’m now looking to explore using the ESP 32 and ESP 8266 devices some of which are also wifi enabled devices and are compatible with a lot of arduino or Raspberry Pi sensors.
When using microcontrollers they come with no Operating System, so the first thing you need to do is to FLASH the devices so that they have an operating system that will know what all the pin connections on the microcontrollers are for and their type.
In Arduino I think its coded in C# while Raspberry Pi you can program in micro-python (and other languages too). I’m comfortable with python for coding so that is why I’ve leaned towards Raspberry Pi rather than Arduino microprocessors.
In ESPHome you use YAML to write configuration files on top of whatever ESPHome flashes onto the devices to begin with, and these YAML files work in Home Assistant quite well.
So at this point, rather than relying on a 3rd party app to control the sensor output and add layers for notification and battery charge, this can be done with a direct interface to Home Assistant.
So what is your strategy?
So after going around the houses and trying to code microprocessors from scratch I have been purchasing a number of ESP wifi enabled microprocessors and soil moisture sensors to look to build devices that will integrate in with Home Assistant so I can send the data locally.
As these sensors could be located anywhere in a greenhouse I need the devices to:
- be self powered
- Send information via wifi to Home Assistant locally and not to 3rd part cloud
- Be able to go to sleep to save power
- Be able to give information on battery charge level of each soil moisture sensor
- Choose an appropriate sensor that is reliable
- Be able to replace batteries easily
- Be able, in Home Assistant, to add scenes or notifications based on plant moisture conditions and send to users.
To this end I’ve:
- purchased some old laptop batteries and dismantled them for their Lithium Ion 18650 batteries and are currently charging those up.
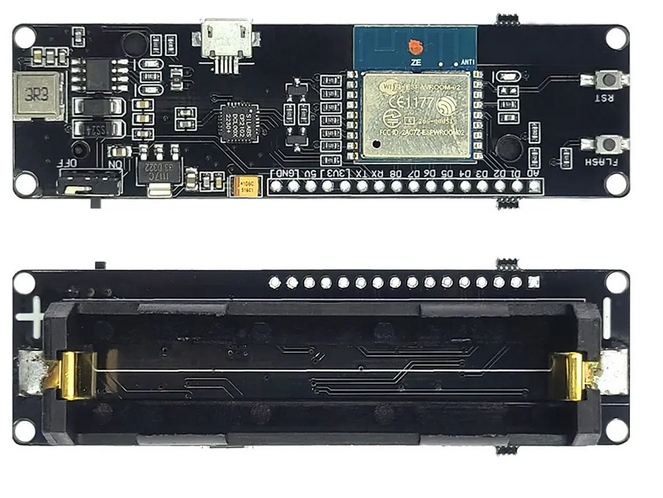
- bought some TZT WeMos D1 ESP-Wroom-02 ESP8266 Nodemcu WiFi Module With 18650 Battery Charging that have integrated battery holder and Wifi module
I’ve a couple of different sensor types I want to try, so, like the video above will trial a couple of types to see which are suitable.
Then when I start being able to send data I’ll be able to look at how to make the device go to sleep to turn off wifi which eats the batteries charge.
So this is my current direction and I think it meets the outcomes I desire, so :
Once more unto the breach, dear friends, once more;
Shakespear’s Henry the Fifth said at the Seige of Harfleur
Or close the wall up with our English dead.
End comment
So, its time for me to see if I can make this happen. I will write a follow up article on how I get on.
So far my learning has taken me along a few different paths but at this point I think I can start to see the shape of what is needed.
Why continue if we already have a working tool of pre-build soil moisture sensors? Cost really and quantity. Using cheaper parts means you can have lots and lots of them to ensure the plants are in their comfort zone throughout their growing cycle.
At this point there is only 2 rooms for growing plants but there are plans for many more. So if the unit cost of the device is reduced then you can have a lot more of them and a better picture of the plants moisture condition