Cupix free version 360 vitual tour
I was interested in the Cupix tool a while back when it was in its beta free version, at a time when I did not have a 360 camera. I decided to have another look at it now that I do have a camera.
Within the programme it creates a 3d model from your spaces so you can use dimensions to measure, say, distances between walls or window size in a room. There is a workflow that you need to undertake to create this 3d model, see the first video below.
I want to explore whether you can get access to the 3D model by download. If it only sits on the cloud then its of interest but not of major use for on-site access.
Another feature, in the 2nd video below, is to see if I can upload a space to google maps (I think this is an extra feature that you need to pay extra for).
I did note in the videos that it is fast, once uploaded, but can take a while to load, this is to be expected as these would be large files and need to come over the interwongle to your pc or device, so it will not be a quick “go to” tool if you are in a hurry, or if you are using a mobile device on site with 3/4G connection.
Sign up requires your credit card info
On the account setup for the free version, it does ask for your credit card details so you will need to watch whether you go over your limit or you’ll be charged.
There seem to be a few videos on YouTube by independent testers (see the videos below) and I thought I’d need to give it a try. The first video shows you a step by step workflow for creating the 360 virtual tour and how the process works:
The second video shows a few tips to improve your presentations. I like the explanation of the Nadir logo image which is put there to hide your tripod and give a bit of branding. A good idea. Definitely a good video to watch. Some of the features discussed are paid extra features.
Cupix & Matterport and basic 360 image setups
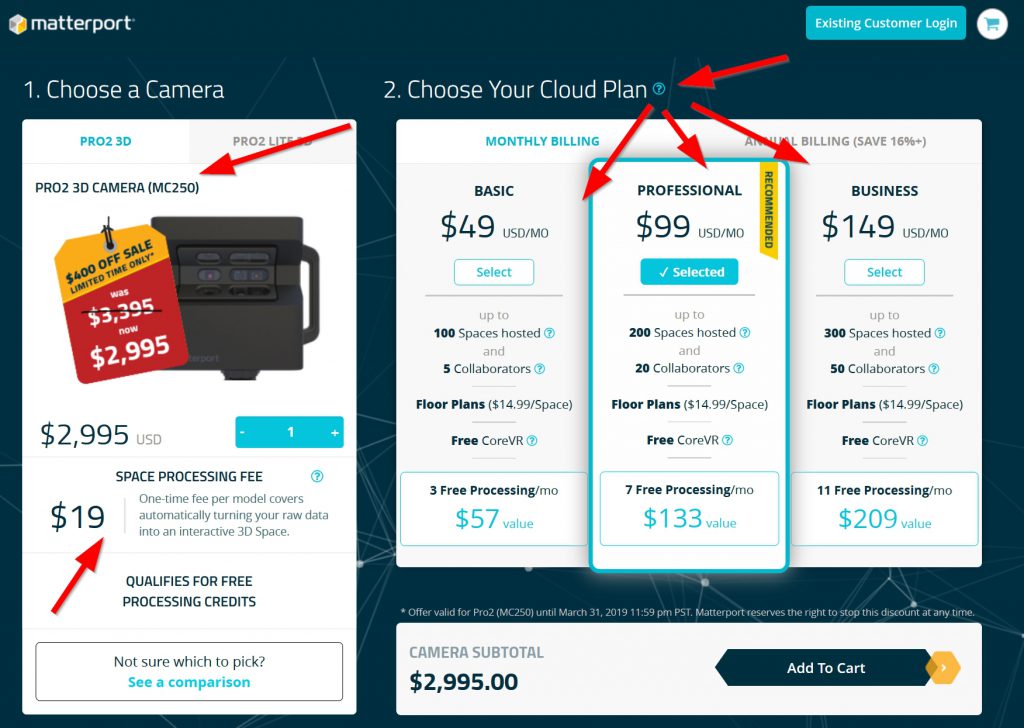
The main player that I’ve seen and mentioned is Matterport. The difference between the two is that in Cupix you can use your own 360 camera images and in Matterport you either have to rent/buy their camera
I have seen the features in Matterport & in Cupix and they both offer a similar service. I have not tested their load times over the web but as they both manage large file sizes I’d think they’d both be slowish. So using them in the field on a mobile device over 3/4G would be quite slow.
In matterport you can take dimensions (see this article) and in Cupix in the first video you can see that you can add dimensions, I did also see on a demo where you, the viewer can take measurements as well.
Both of them allow hotspots or text to be floated in the images with attached data and allow for a virtual walk through by timing the scenes and transitions.
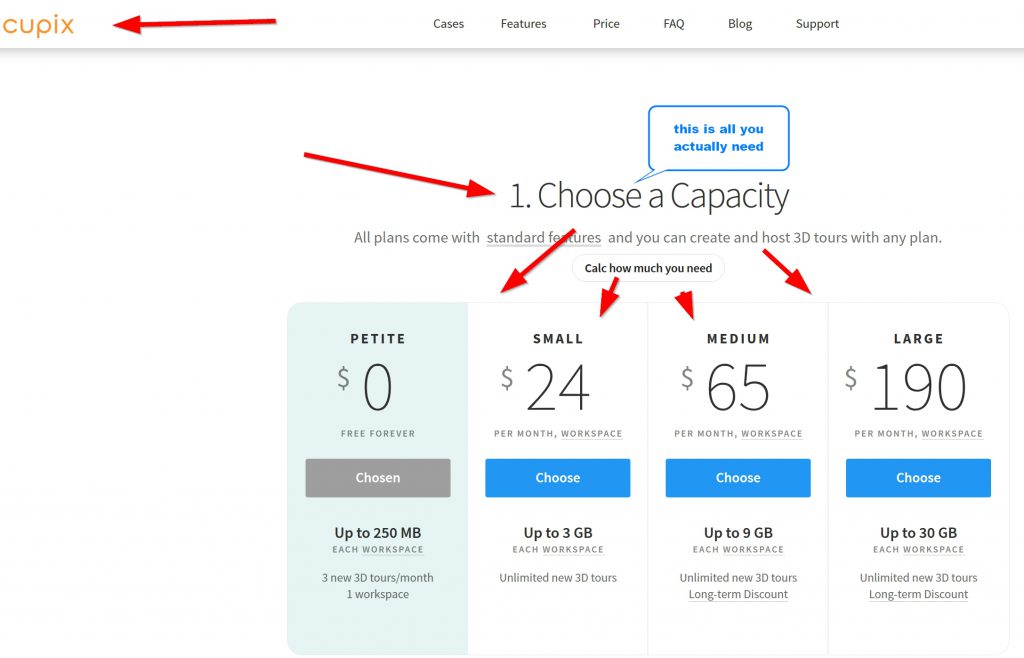
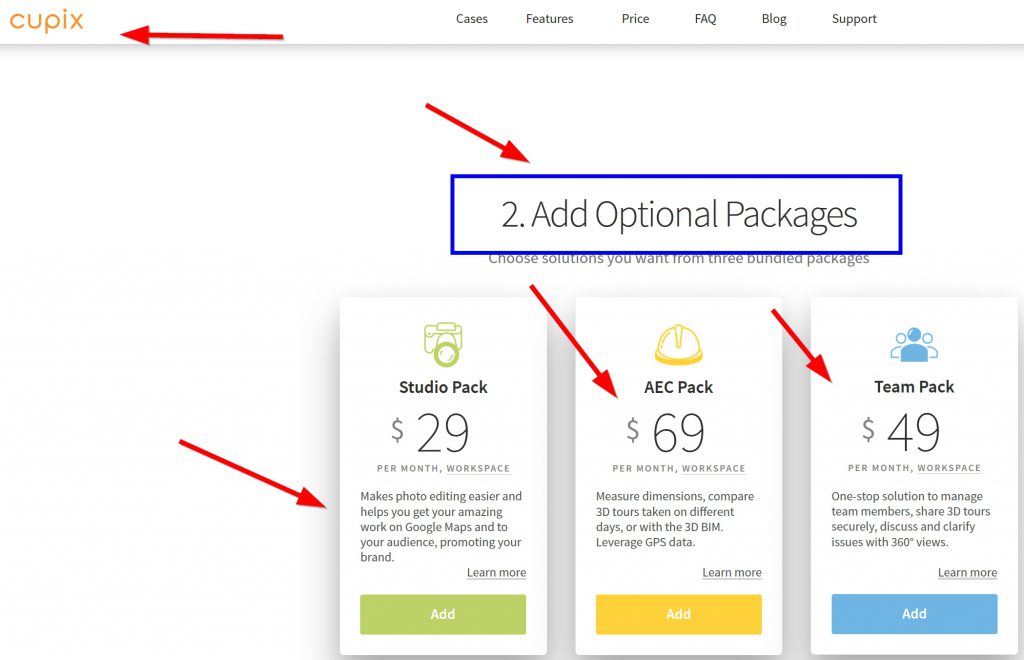
The nice thing about Cupix is you can test out a free version if you have a 360 camera and see how that works. So, cost of testing is very low. If you find that it is a resource that you want to use then you can look at either up-scaling to a different storage capacity or extra features within Cupix or to try out Matterport as an alternative.
Basic linked 360 images
Speed is the advantage of having just basic 360 linked images on a plan on a flash drive or pc drive or lan. They would be fast to review to see. There is not the dimensional capacity that the other two programmes have, but I do see the internet speed being a limiter. If you could have the created models on a server then your lan network would be a lot faster. The issue with accessing on site over 3/4G isd the same, although you could have the property on a flash drive prior to going to site, but that needs to be premeditated. If the technician just had a callout directly to the site then the only fast way to be able to upload images is to use the Low Resolution images to review, which would download a lot faster as the files are small, then upload a high resolution image. This would need to be part of the setup to allow for this eventuality.
A site survey use case
I can see an obvious use case in an architectural office in an initial building survey and site measure for an existing building. Going back and re-checking dimensions is quite tedious and is reliant on the site measurements being accurately added to the BIM model. You can easily share access with the 360 Cupix model with the team so they can get their own dimensions from the 360 Cupix model as they need. You can also add a COS (Check on site) annotation to dimensions with as note that the dimension was taken from the Cupix model , so that it can be checked/verified later. This will reduce the number of site visits required for dimension/geometry checking.
End comment
This programme has the power of giving you a notional point cloud of your spaces in that you can retrieve dimensions from it, at a far lower cost. It is not as accurate as a point cloud, but its easy to go out and take some photos in a space and only using $NZ 250 camera. There is the time spent processing the images to link together (watch first video above), but it puts all the power into your hands.
I have my camera charging and will try out the free version in the near future.

Web Data 3- Part 2. Google Sheets API to Web Page automation

Revit Room/Door/Colour Schedules & Key Schedules